OpenCode vs Oh My OpenCode: Differences, Setup and How to Use Them
Key takeaways
- OpenCode is a free, model-agnostic AI coding agent for the terminal; Oh My OpenCode adds multi-agent orchestration.
- Install OpenCode first, confirm it runs, then add the plugin with bunx or npx.
- Use plan before build, save ulw for multi-file work, and always review the Git diff.
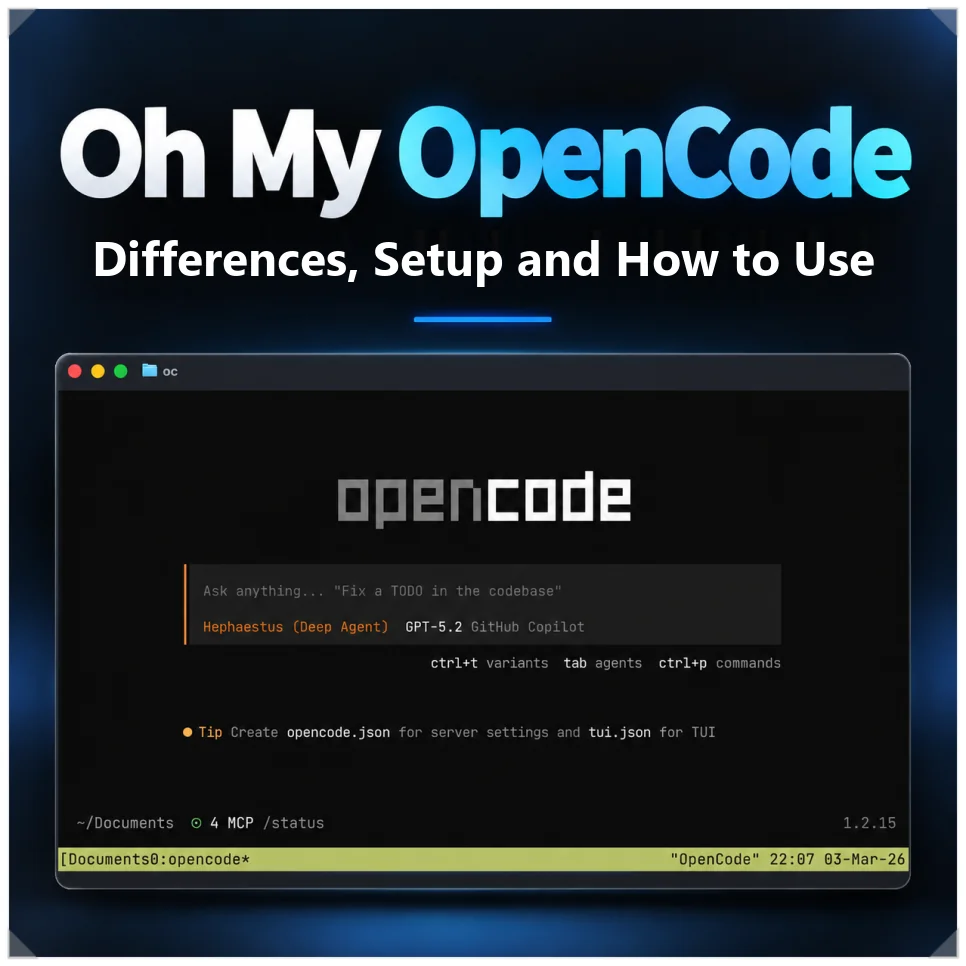
If you use Claude Code or Cursor, you may have wished you weren’t tied to one model or service. Sometimes you want to switch AI models by task, or split a complex job across several agents. OpenCode covers the first and Oh My OpenCode adds the second, so OpenCode vs Oh My OpenCode comes down to how big your jobs are.
This guide covers what each tool does, how to install and connect them, and how to use plan and ulw on a real project, step by step.
OpenCode vs Oh My OpenCode: what each one does
The names are similar, but the two tools do different jobs.
| OpenCode | Oh My OpenCode | |
|---|---|---|
| Role | AI coding runtime | Multi-agent orchestration |
| Key features | plan, build, LSP, session management | Sisyphus, ulw, parallel tasks |
| Best for | Single tasks and everyday code edits | Complex work spanning many files and roles |
| What stands out | Connects directly to many AI models | Assigns agents and models per task |
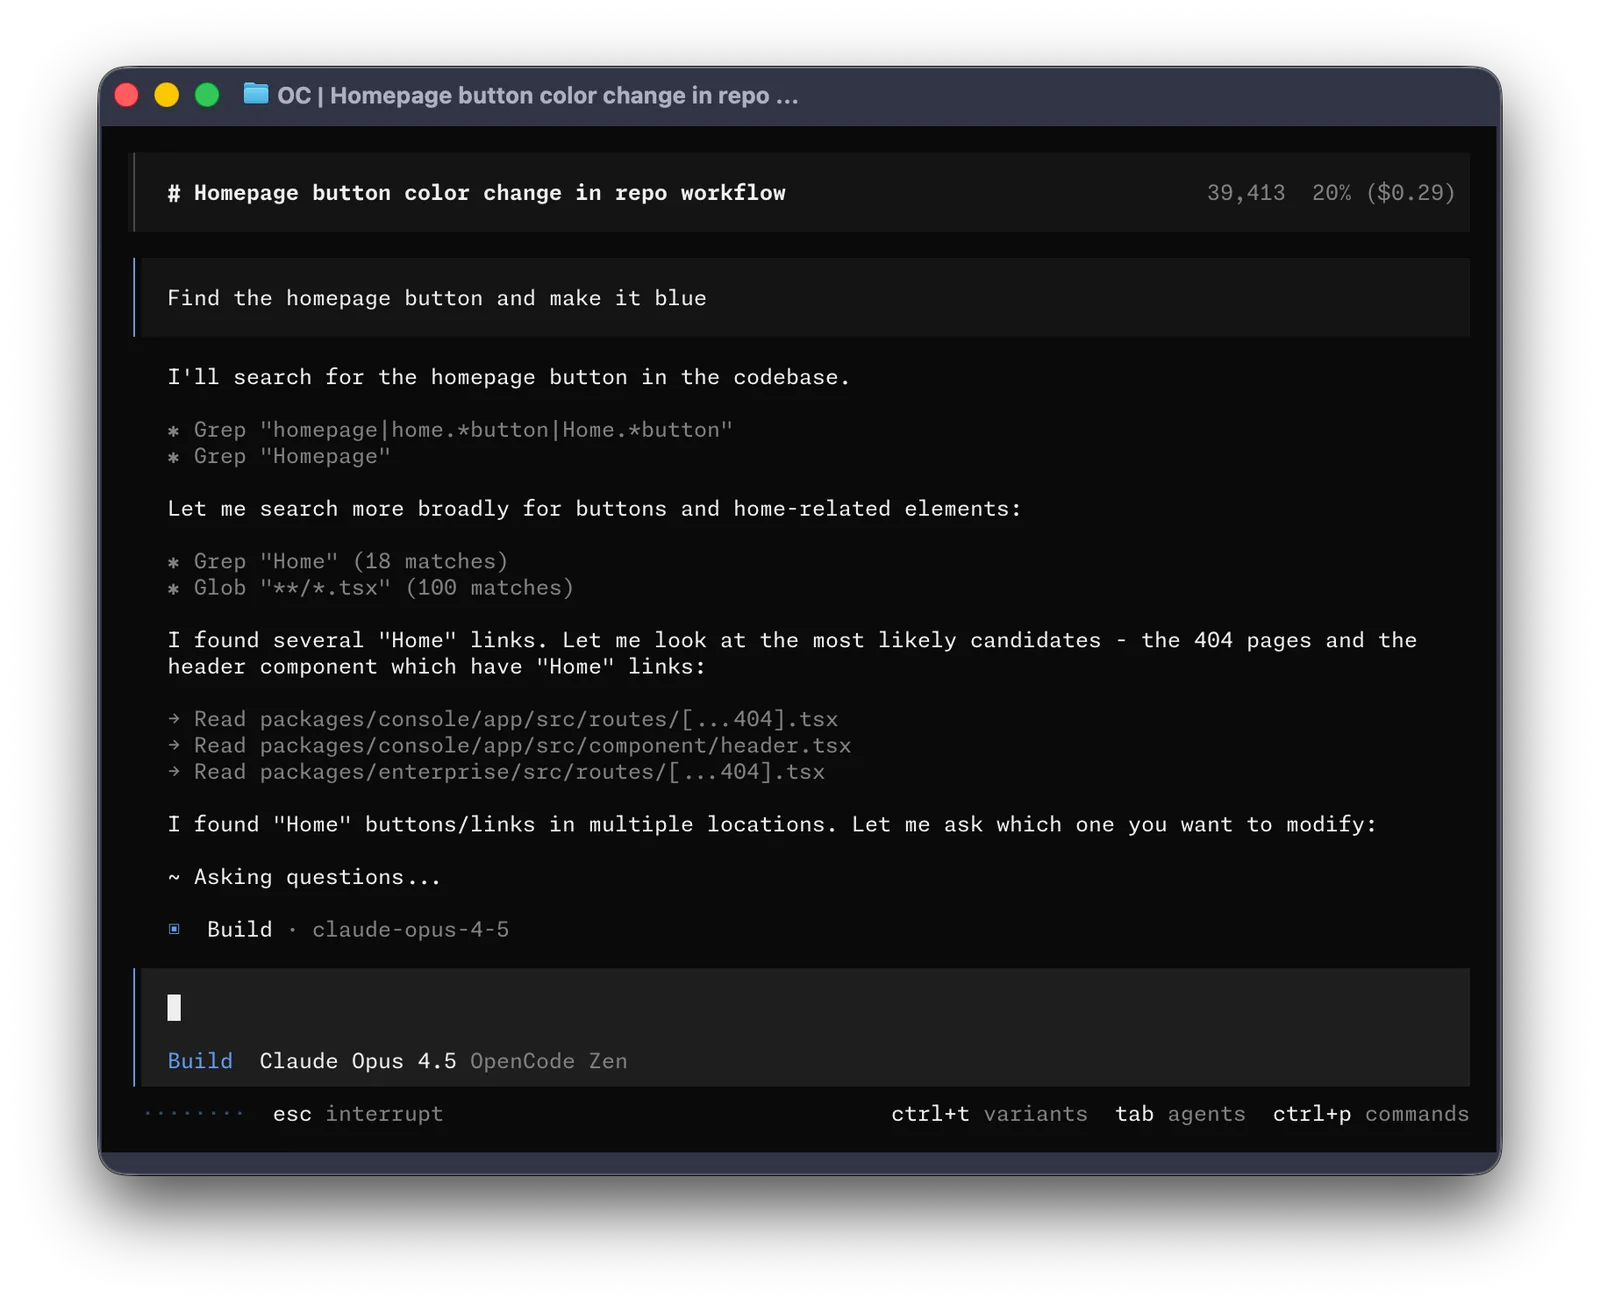
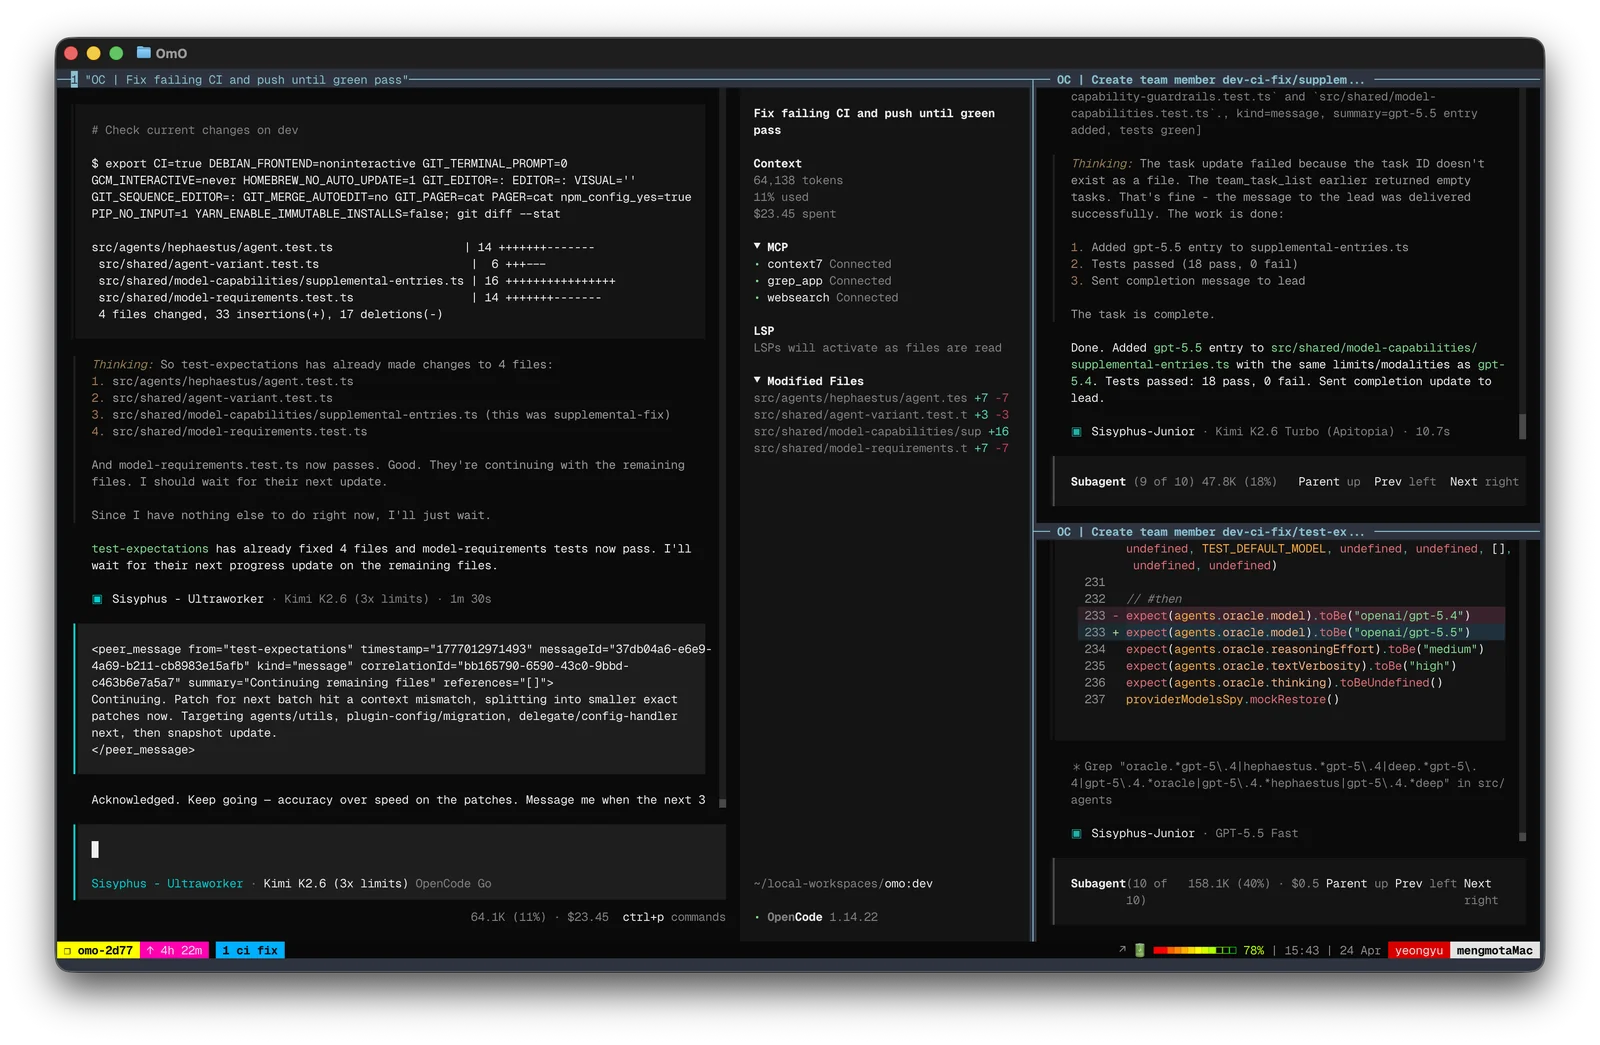
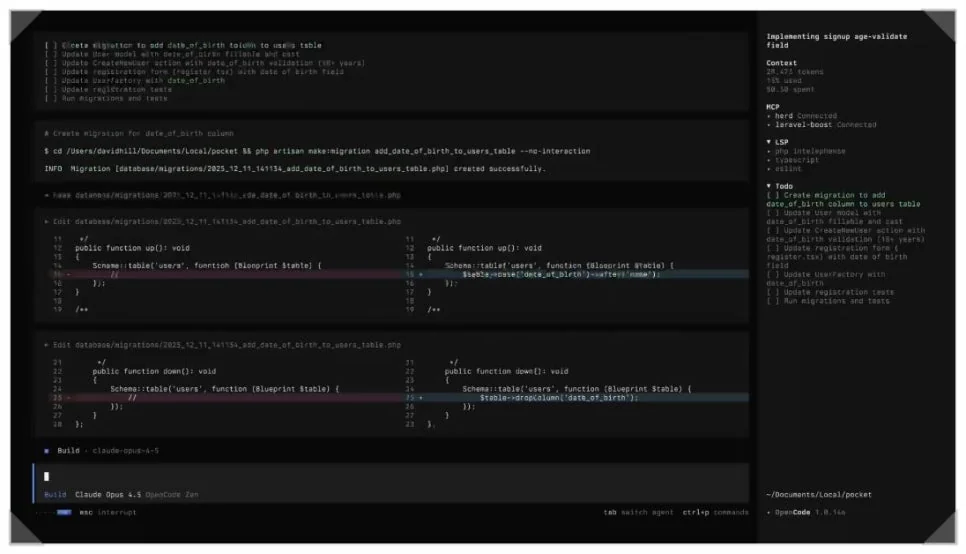
OpenCode is the core runtime that lets you use many AI models from your terminal and local dev environment. It has a plan mode that explores the codebase and decides what to change, and a build mode that actually edits files. It also uses LSP (the Language Server Protocol your editor uses for code intelligence) to understand symbols and how files relate.
It isn’t locked to one model. You can connect several model providers, and it ships with /undo to roll back changes and /share to share the current session.
Oh My OpenCode is closer to a multi-agent orchestration layer you add on top of OpenCode. Think of how oh-my-zsh extends a basic shell.
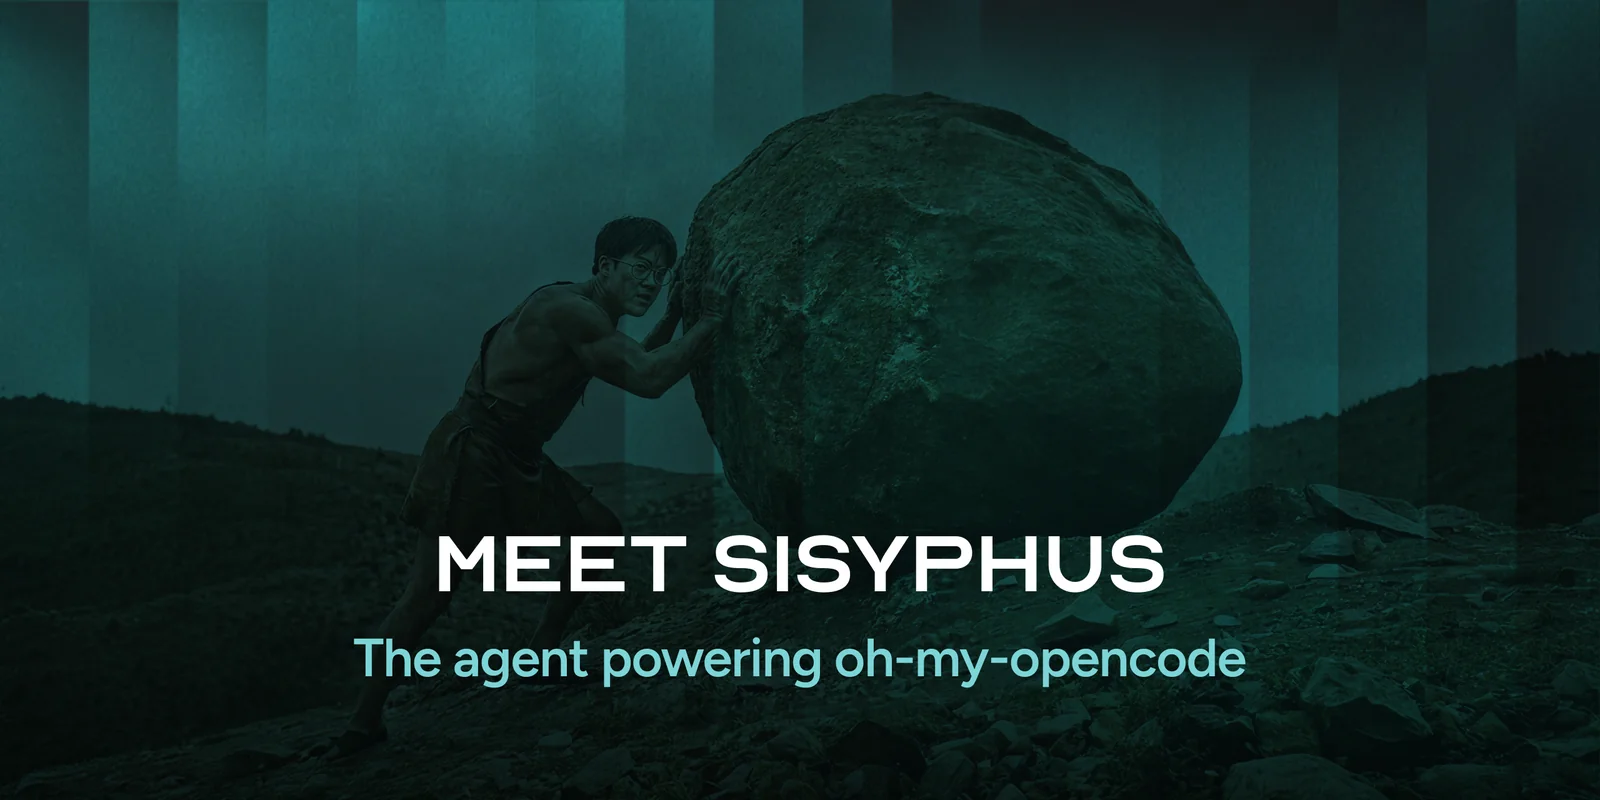
Several agents split the work, with Sisyphus coordinating the whole job. Instead of one AI handling everything from exploration to implementation and verification, each kind of work goes to a different agent.
| Agent | Role and when it’s used |
|---|---|
| Sisyphus | Coordinates the whole job; for complex work spanning many files and steps |
| Hephaestus | Does the implementation; for large features or tricky refactors |
| Prometheus | Sorts out requirements and task order; for planning before implementation |
| Atlas | Follows an agreed plan and to-do list and runs the tasks to the end |
Its signature feature, ultrawork (ulw for short), splits a job into subtasks. Code exploration runs in the background, while different kinds of work, like implementation and testing, go to the agent best suited for each.
Put simply, OpenCode is the base engine of your AI coding setup, and Oh My OpenCode is the extension on top that divides roles among agents and coordinates their work.
Step 1: Install OpenCode first
Get OpenCode running on its own before you add Oh My OpenCode. If you install both at once and something breaks, it’s hard to tell whether the problem is OpenCode itself or the plugin.
First, check whether OpenCode is already installed:
opencode --versionIf it isn’t, use the official install script or a package manager. On macOS or Linux with Homebrew:
brew install anomalyco/tap/opencodeOn Windows, you can use Scoop (scoop install opencode) or Chocolatey (choco install opencode). The official README also lists an install script (curl -fsSL https://opencode.ai/install | bash) and npm (npm i -g @opencode/cli@latest).
Once OpenCode runs, install Oh My OpenCode. With Bun:
bunx oh-my-opencode installIf you don’t use Bun, Node.js’s npx works too:
npx oh-my-opencode installThe installer asks which services and subscriptions you have, such as Claude, ChatGPT, Gemini and GitHub Copilot:
[?] Do you have a Claude Pro/Max Subscription? (Y/n)
[?] Are you on max20 (20x mode)? (Y/n)
[?] Do you have an OpenAI/ChatGPT Plus Subscription? (Y/n)
[?] Will you integrate Gemini models? (Y/n)
[?] Do you have a GitHub Copilot Subscription? (Y/n)
You don’t need all of them. Set up only the ones you actually use. Settings come in two scopes. Global settings live in ~/.config/opencode/oh-my-opencode.json, and per-project settings in .opencode/oh-my-opencode.json at the project root.
On a first setup, skip the detailed options. It’s easier to go in order: confirm OpenCode runs, install the plugin, then confirm it loads.
Step 2: Connect your project and run the first setup
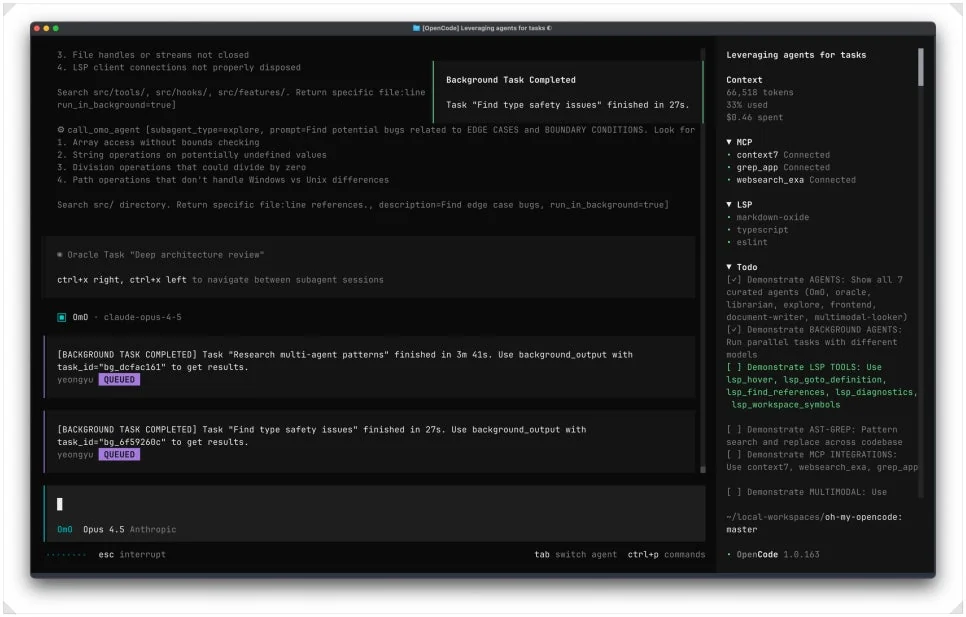
After installing, run opencode from the root of the project you’ll work on. If Oh My OpenCode installed correctly, its features load along with your existing OpenCode setup. Then type / in the prompt to see the command list. If you see commands like /agent, /oracle, /ultrathink and /plan, the integration is working.
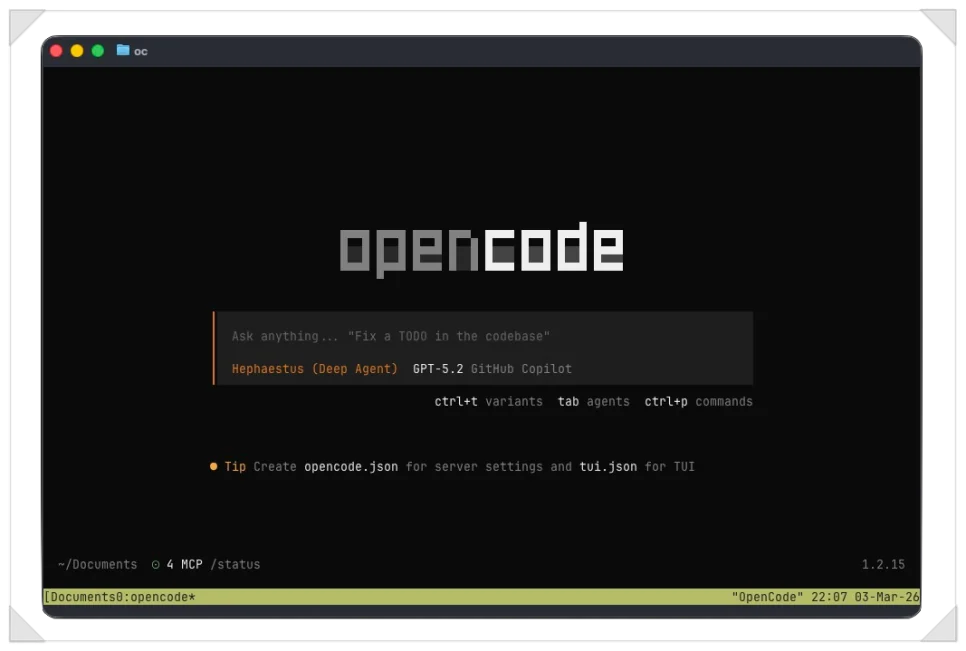
To connect models and initialize the project, enter /connect and then /init:
/connect
/init
/connect links the AI model providers you’ll use. If a service needs an API key or account sign-in, set it up here.
/init analyzes the project structure and creates the baseline information agents refer to. It looks at your directory layout, build and test commands and project rules, and can build a guide file such as AGENTS.md.
It’s worth adding your project’s real rules to this file yourself. List directories that must not be touched, tests that must always run and your coding conventions, and the agents will make fewer judgment calls on their own.
Once setup is done, type / again to check the available commands. Depending on your setup, you may see:
/agent
/oracle
/ultrathink
/plan
Use /agent to check or switch agents. /oracle is for analyzing a complex structure or the cause of a bug rather than editing code right away.
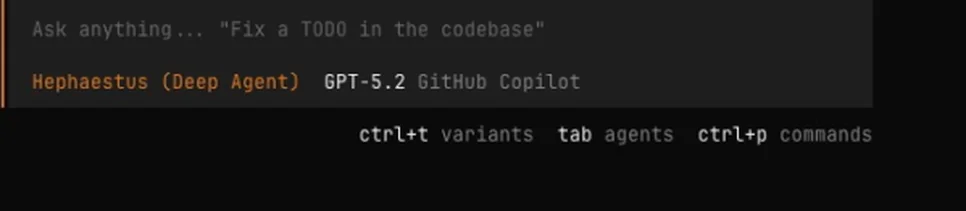
/plan scopes the work before any changes. Reasoning-heavy features like /ultrathink are best saved for tangled structures or bugs whose cause is hard to find. If none of these commands show up, don’t trust the install-complete message. Check that Oh My OpenCode is registered under the plugin entry in your OpenCode config.
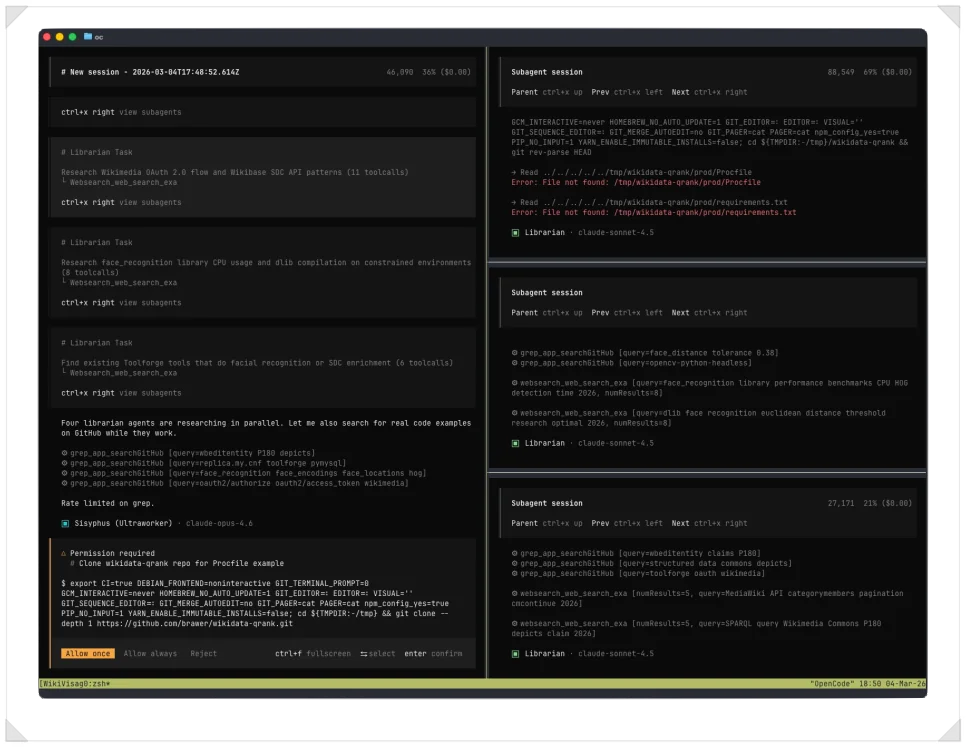
Start with plan to check the scope
For code changes, it’s safer to start in plan than to grant edit access right away.
Say you’re changing JWT token refresh logic. You can name the target files and scope first:
Look at @src/auth/token.ts and write only a plan
for changing the JWT token refresh logic.
Don't modify any files yet.
At this stage you can see which files will change, how far the impact reaches and which tests need checking. If the plan isn’t what you expected, you can change direction before any code changes. If it looks right, switch to build mode and implement it.
You also don’t need to auto-approve file edits or shell commands from the start. Set permissions like edit and bash to "ask", and you’ll confirm important changes yourself.
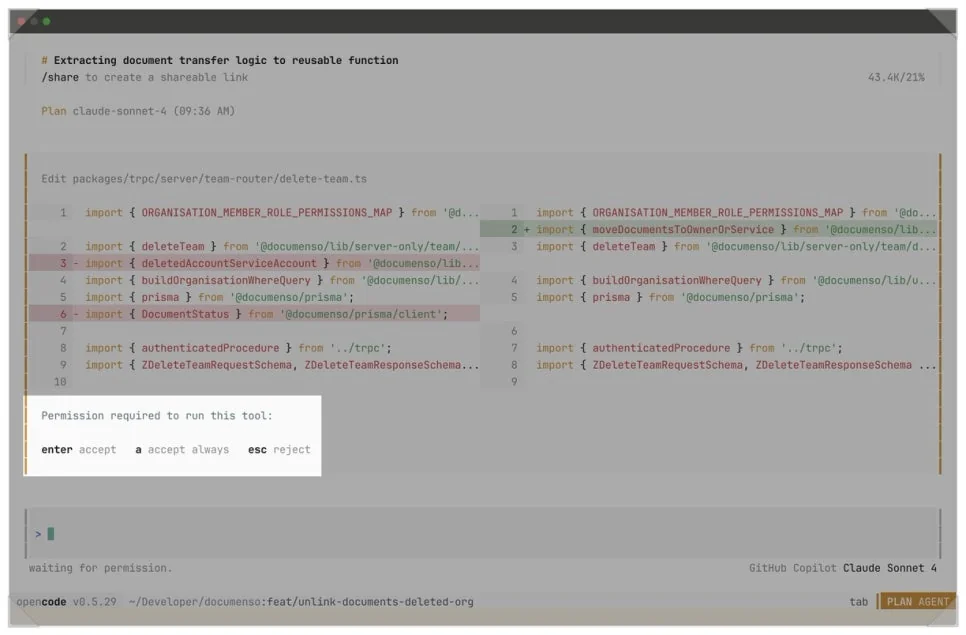
If you run the same tests often, create a custom command such as .opencode/commands/test.md. Defining each project’s test steps up front saves you from explaining them every time.
Use ulw for complex work
You don’t need Oh My OpenCode’s multi-agent setup for fixing a typo or renaming a variable. A regular prompt is faster for that and uses fewer tokens.
But if you’re building a feature that touches several files and needs new tests, ulw is a good fit:
ulw @src/auth Write the JWT token refresh logic,
add unit tests for it, and run the tests.
Work like this splits naturally into stages: exploring the code, checking the existing implementation, making the changes, and writing and running tests. That’s where multiple agents shine. Still, don’t call the job done just because an agent reports passing tests.
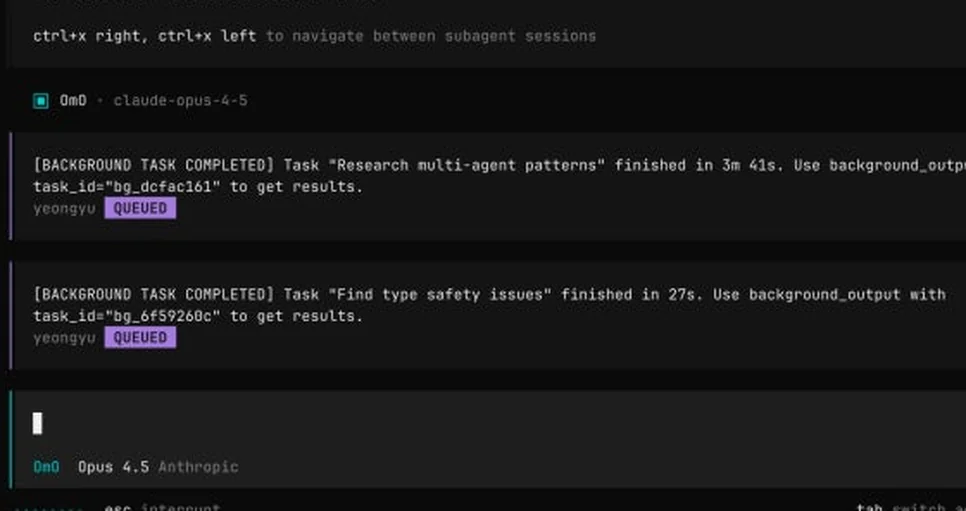
AI coding tools sometimes change existing conditions or touch unexpected config files to get tests to pass. The feature may work, but the change can end up bigger than it needs to be.
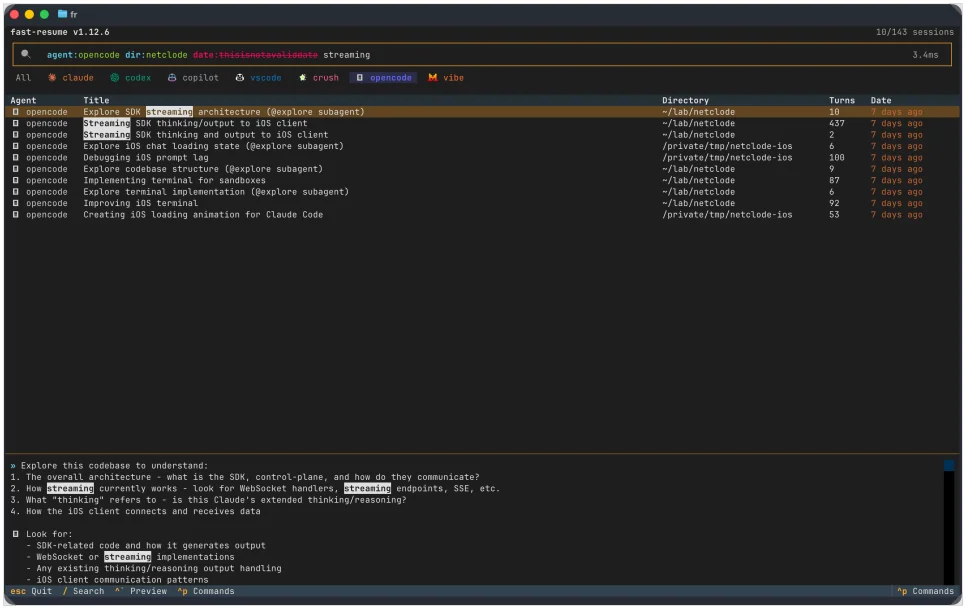
At the end, open the Git diff yourself. Check not only the new code but also what was deleted, test changes and config file edits.
In particular, make sure test assert conditions weren’t loosened, existing error handling wasn’t dropped and shared config files weren’t changed along the way. Treat passing tests and code review as two separate checks.
A note on names: Oh My OpenCode is now OmO
As of October 2026, the project’s GitHub repository has moved to oh-my-openagent and the project calls itself OmO. The OpenCode plugin is still published as oh-my-opencode on npm, so the commands above still apply. There’s also a standalone edition, OmO Native, installed as the omo-ai package, which doesn’t need OpenCode at all.
Bottom line: OpenCode alone, or add Oh My OpenCode?
In the OpenCode vs Oh My OpenCode choice, OpenCode on its own handles single-file edits, quick scripts and code exploration just fine. If most of your work is asking questions and making direct edits, the basics go a long way.
Oh My OpenCode pays off as the scope grows. When you need to work across several directories, or juggle different kinds of work like implementation, tests and docs, splitting roles across agents is easier.
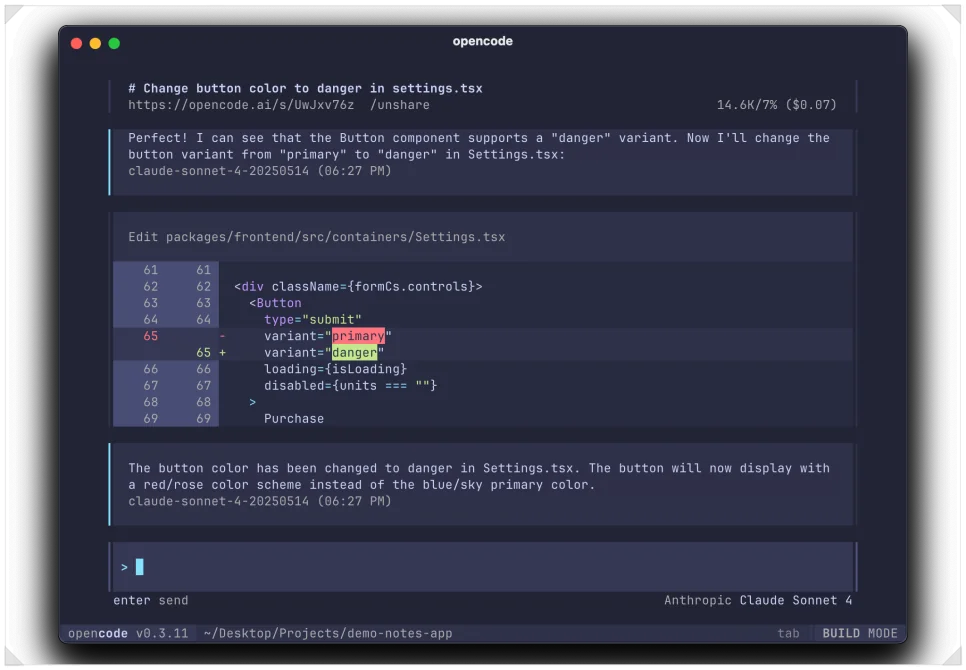
If you’re just starting, install OpenCode first and get used to the /connect, /init, plan and build flow. When your projects get bigger, add Oh My OpenCode and try ulw. That’s when the difference between the two tools really shows.
Handle small fixes quickly in OpenCode, and bring in Oh My OpenCode for work that spans many files and tests. Matching the tool to the size of the job is easier on a real dev workflow than turning on every feature from day one.

Related reading
- Gemini 4 Argon vs. GPT-6 Astra and Claude Opus 5.5: Benchmarks and API Pricing Compared
- PhotoCraft Review: How Good Is the Free, AI-Built Photoshop Clone?